

Whether you're looking for warehouse shelving ideas for a compact unit or planning a full pallet racking design and layout for a large distribution centre, warehouse shelving layouts shape everything: how quickly and safely your team picks and how much of the space you're actually using. This guide walks you through five proven warehouse racking layouts, with practical warehouse layout examples for each. You'll learn how each configuration suits your operation and what to consider before you commit. If you've been wondering how to maximise your shelving with the best layout for your building, this is where to start.
Key Warehouse Racking Layouts
No two warehouses work the same way. A busy distribution centre running thousands of daily picks has very different priorities from a compact manufacturing unit with a tight footprint. That's exactly why understanding the difference between U, L and I shaped pallet racking layouts (and how the row and fishbone configurations compare) matters so much before any warehouse design and layout planning begins.
There are five main warehouse layout options, each named for the way goods move through the space. Here's how they compare.
| Layout | Flow Pattern | Ideal Application | Typical Equipment |
|---|---|---|---|
| Row | Parallel, linear | High SKU count operations | Counterbalance forklift or reach truck |
| U-shaped layout (balanced flow) | Looped | Single-sided dock access | Standard forklift |
| I-shaped layout (straight-through for high volume) | Linear | High-volume distribution | Standard or reach truck |
| L-shaped (separated dock operations) | Angled | Dual-dock, irregular footprints | Standard forklift |
| Fishbone | Diagonal from central spine | High-volume pick operations | Pick trolley or low-level equipment |
Each configuration has its own logic. The right one depends on your building shape, your stock profile, your throughput targets and the equipment you're running. The sections below break down each layout in detail. But it's worth knowing your racking options first: your layout and your warehouse racking systems are closely linked decisions.
Common Warehouse Racking Solutions and Shelving Options
Your layout determines the flow of goods. Your racking determines what you can store and how your team can access it. Knowing your warehouse racking solutions before you commit to a configuration makes both decisions easier; here are the five most common systems used across Irish warehouses and industrial racking environments.
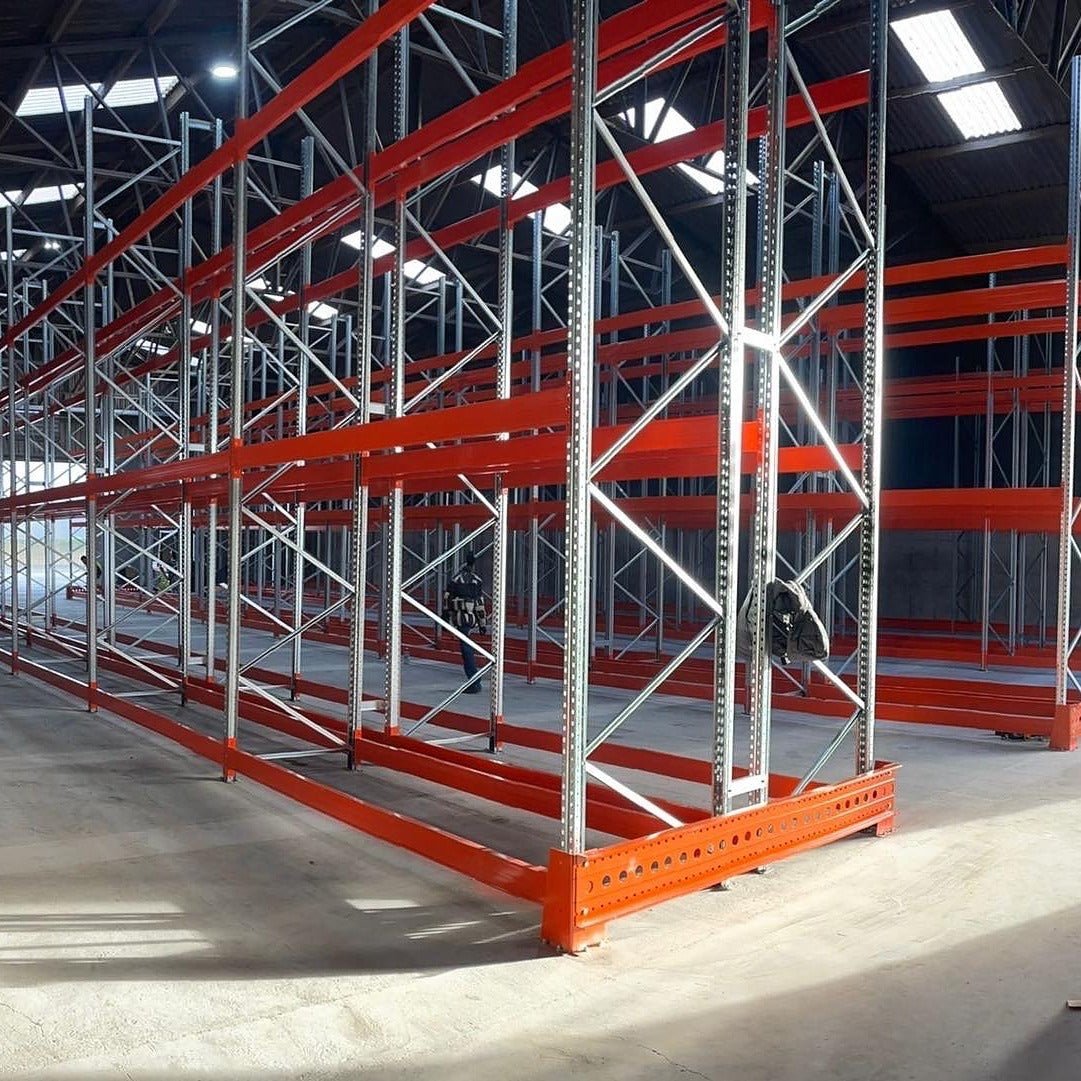
Selective Pallet Racking: Direct Access to Every Pallet
Selective pallet racking is the standard choice for most operations. Every pallet position is directly accessible, so there's no need to shift stock to reach what you need. It works with almost any layout configuration and suits both counterbalance forklifts and reach trucks. If you manage a wide range of product lines or need to locate specific pallets quickly, this system delivers.
Narrow Aisle Racking: More Storage Without a Bigger Building
Narrow aisle (NA) racking uses the same beam-and-upright structure as selective racking but with significantly tighter aisle widths. You'll need a specialist very narrow aisle (VNA) truck to operate in these aisles; the payoff is a notable increase in storage density. If your footprint is fixed and your pallet count is growing, NA racking is worth a serious look.
Cantilever Racking: Purpose-Built for Long and Awkward Loads
Cantilever racking is designed for long or irregularly shaped items: timber and steel are the most common examples. Instead of beams and a back panel, it uses horizontal arms extending from a central column. It's the go-to system for builders' providers, timber merchants and manufacturers handling materials that won't sit neatly on a standard pallet.
Mobile Pallet Racking: High Density, Minimum Aisle Space
Mobile pallet racking mounts your bays on motorised bases that travel along floor-level rails. You only ever need one aisle open at a time, recovering almost all the floor space normally lost to fixed aisles. It requires a significant upfront investment and a very flat floor; it also delivers a very high level of storage density, making it one of the most space-efficient racking systems available.
Longspan Shelving: Hand-Loaded, Heavy-Duty Storage
Longspan shelving sits between standard warehouse shelving racks and pallet racking. It's hand-loaded, meaning no forklift required, and handles heavier or bulkier items than standard shelving can manage. It's a common choice in picking areas and parts stores where ease of access matters as much as density.
With a clear picture of your racking options, the next step is understanding the key considerations that shape effective warehouse shelving layouts before any uprights go in.
Warehouse Layout Design Considerations
Good warehouse infrastructure and design starts well before the first upright goes in. Getting these decisions right, from aisle widths and warehousing shelving dimensions to product flow and safety, is what separates a layout that works from one that causes problems. Here are the factors that matter most.
Aisle Widths and Warehouse Layout Planning
Aisle widths and warehouse layout planning go hand in hand. Standard counterbalance forklifts typically need aisles of around 3.5 metres or more to operate safely. Reach trucks can work in narrower aisles of around 2.7 to 3 metres. VNA trucks can get down to approximately 1.6 metres, but they require specialist guidance systems and a very flat floor.
Gangways must always remain clear for both operational access and fire safety. Get this wrong and you're facing either unsafe conditions or racking that can't be properly reached.
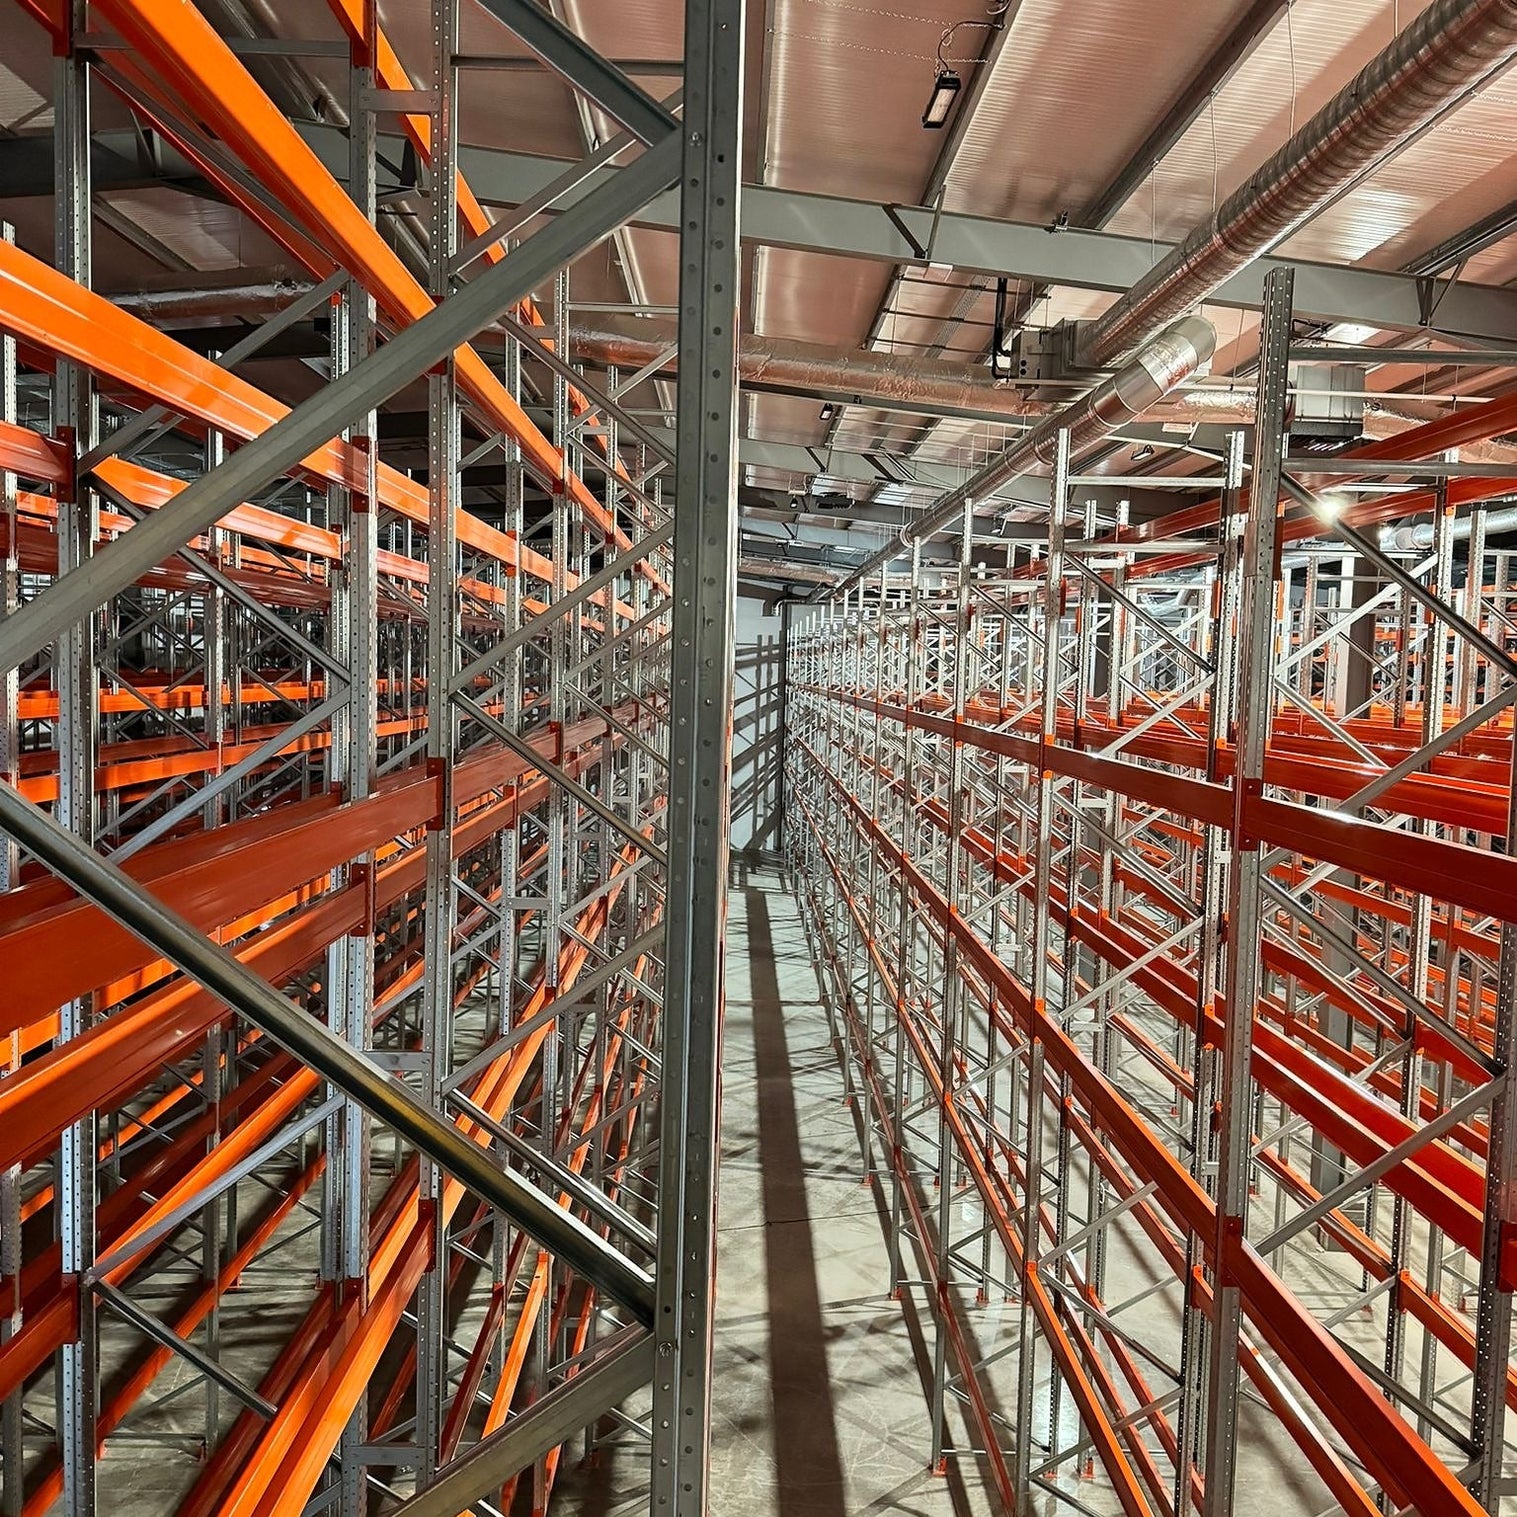
Making Full Use of Vertical Space
Most warehouses don't make full use of the height available to them. Pallet racking can go high, subject to fire safety clearances and the safe working limits of your forklift equipment. Before you finalise your layout, confirm your usable height (including sprinkler clearance). That information shapes how much you can store without expanding your footprint.
Product Flow and Pallet Layout Optimisation
Good pallet layout optimisation starts with understanding how stock moves through your building. Think about where goods enter, where they're stored and where they leave. Map your product velocity: fast-moving lines closest to dispatch, slower stock further back. Knowing how to organise warehouse shelving by velocity is one of the simplest ways to cut average pick time without changing a single upright.
Maximising Space Without Compromising Safety
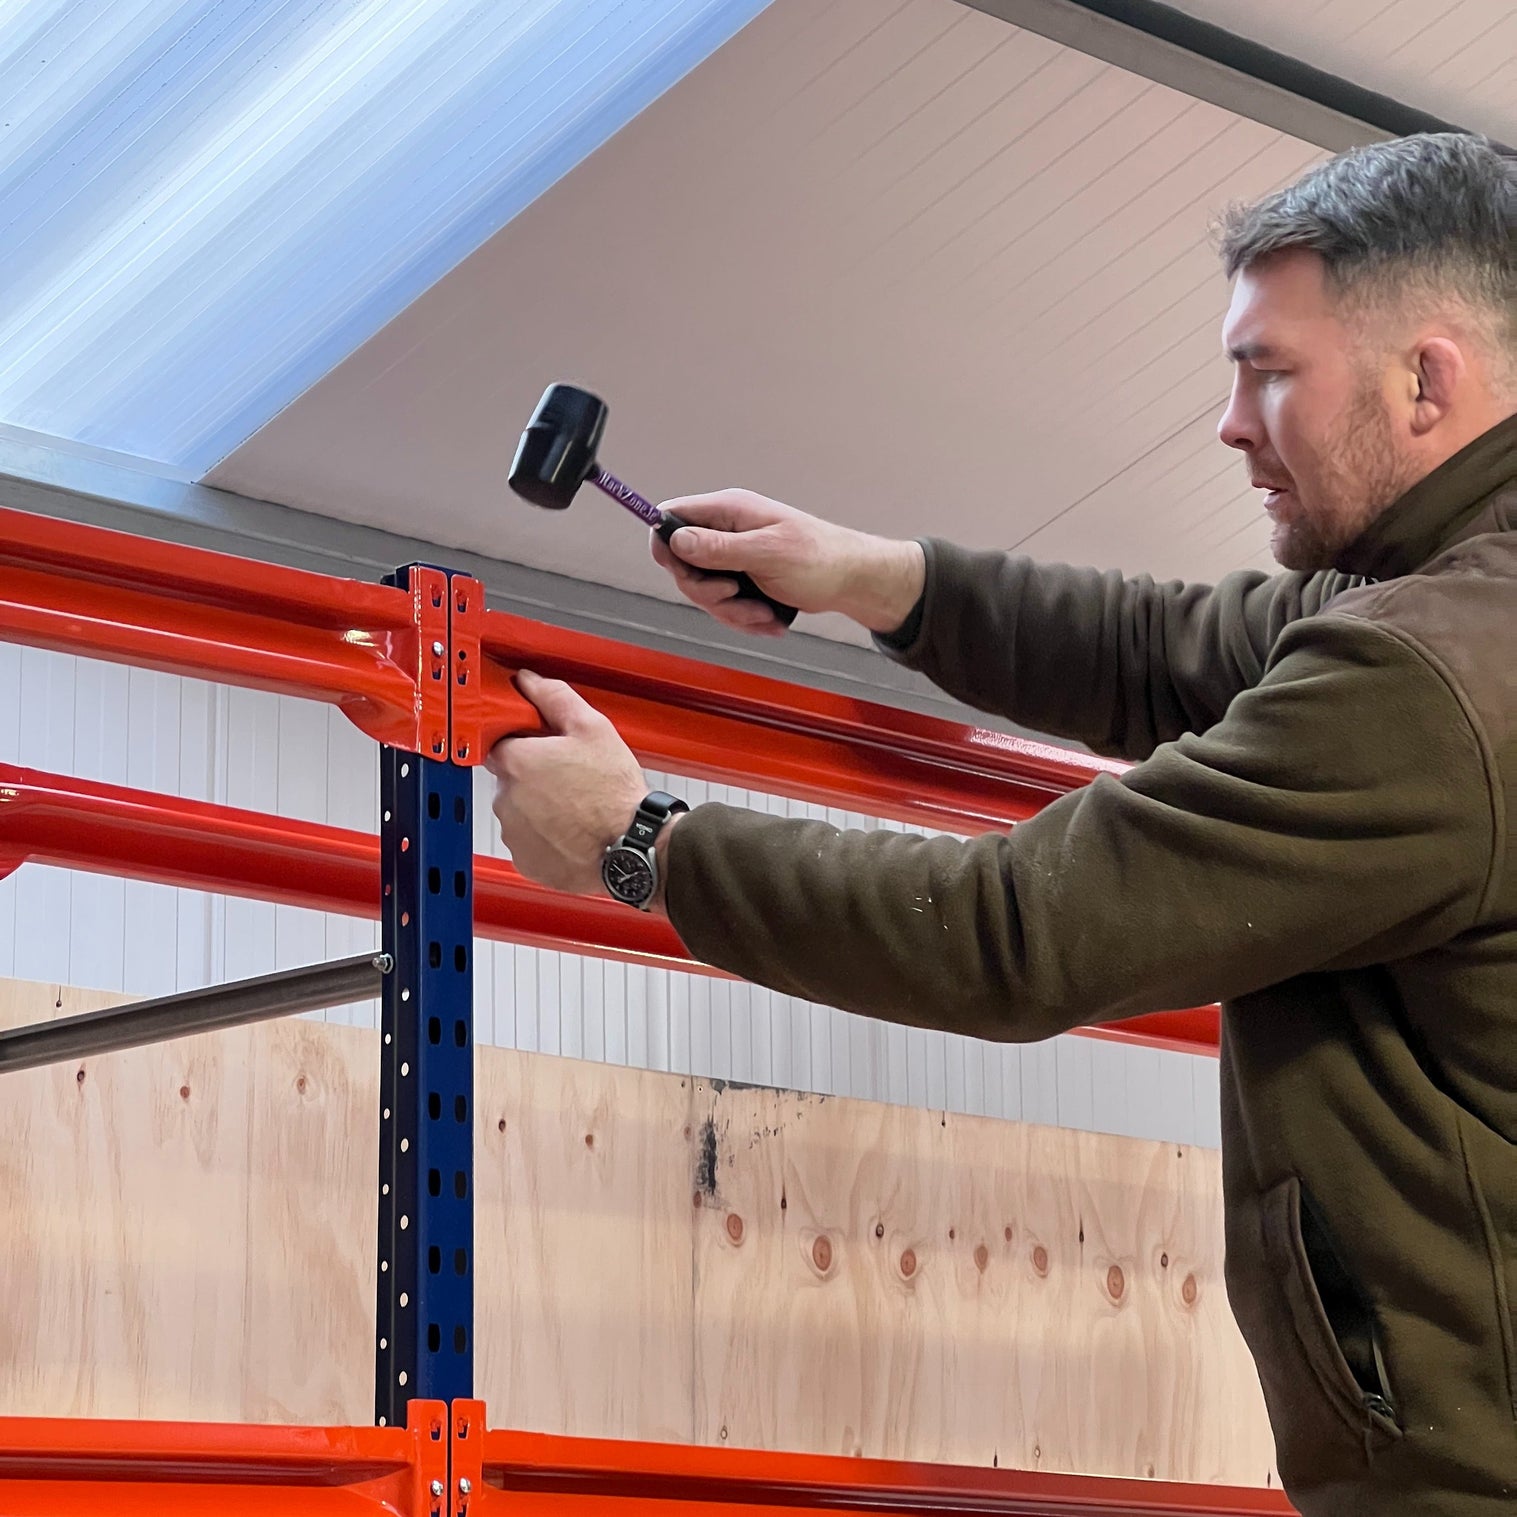
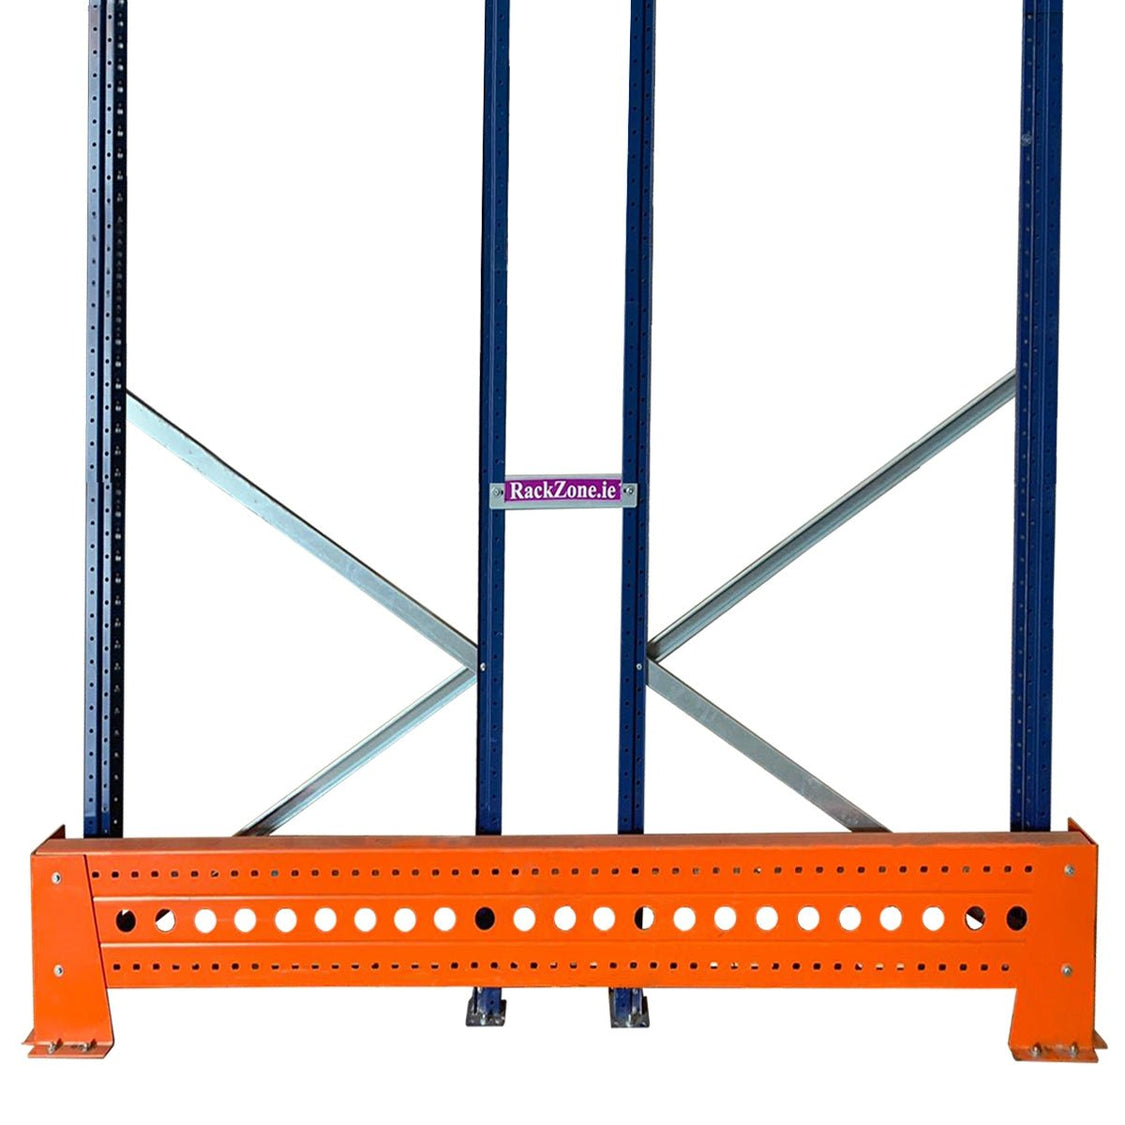
Safety isn't something you factor in at the end: it shapes your layout from the very beginning. Racking must be inspected regularly under EN 15635 guidelines. Column guards and end-of-aisle barriers are practical requirements, not afterthoughts. The aim is always to make the best use of the available space, but never at the cost of safe working conditions. Flow, efficiency and safety work together in a well-designed layout, not against each other.
Keeping the Layout Flexible for the Future
Businesses change. Layouts need to change with them. Modular racking systems can be reconfigured as your storage needs shift, so designing with adaptability in mind from the outset saves you costly reinstallation work later. Think about where your operation is heading, not just where it is today.
With those factors covered, here's how each of the five configurations performs in practice.
The Row Shaped Pallet Racking Warehouse Layout
How the Row Shape Works in Practice
The row shape is one of the most widely used pallet racking layouts in warehouse operations. Racking runs in parallel rows across the width or length of the building, with access aisles between each row. It's simple to install and straightforward to modify; new staff pick it up quickly.
Every pallet position is directly accessible. There's no need to move one pallet to reach another, which matters when you're managing a broad product range and need to pick accurately at speed.
Is the Row Layout the Right Fit for Your Operation?
Row layouts work well for operations with large SKU counts and facilities using standard counterbalance forklifts. Because you're not reducing aisles to minimum widths, you've got more flexibility on the equipment you use, which also simplifies operator training.
The main limitation is density. Standard aisle widths mean a significant portion of your floor space is gangway rather than storage. For small warehouse shelving layouts where space is at a premium, a denser configuration may serve you better.
Tips for Row Layout Efficiency
Keep your fastest-moving lines in the rows closest to dispatch. You'll create a more efficient racking layout without any structural changes to your beams and uprights.
The U-Shaped Pallet Racking Warehouse Layout
How the U-Shaped Layout (Balanced Flow) Works in Practice
The U-shaped layout (balanced flow) positions receiving and dispatch at the same end of the building. Racking fills the middle and back of the space, with inbound and outbound operations running on opposite sides of the same dock wall. Stock flows in from one side, loops through the racking and comes back out on the other.
That looped, balanced flow keeps inbound and outbound movements clearly separated, even within the same access area.
Is U-Shaped Right for Your Building?
This configuration works well when your building only has loading access on one side, which is common on urban sites or in older industrial units. It's one of the more practical warehouse layout patterns for managing dock traffic where inbound and outbound operations share the same access point.
The limitation is throughput. When everything passes through the same end of the building, bottlenecks develop at peak times. If you're running high-volume simultaneous movements at the dock, you'll need to manage it carefully.
Tips for U-Shaped Layout Efficiency
Define inbound and outbound zones with clear floor markings from day one. When two operations share the same dock, good visual management makes all the difference.
The I-Shaped Pallet Racking Warehouse Layout
How the I-Shaped Layout (Straight-Through for High Volume) Works in Practice
The I-shaped layout (straight-through for high volume) is exactly what it sounds like. Goods enter at one end and leave from the other. No backtracking, no shared dock congestion: a clean, linear path from receiving to dispatch.
Is your operation moving a lot of stock quickly? This layout is designed for exactly that.
When Does the I-Shaped Layout Make Sense?
High-volume distribution facilities and logistics hubs with dual dock access are natural fits. The straight-through flow keeps traffic moving in one direction and makes zoning intuitive. Put your fastest-moving lines nearest to dispatch and slower stock further back, and you'll reduce average travel time across every shift.
The main requirement is the building itself. This layout works best in a long, rectangular facility with dock access at both ends. If your building doesn't offer that, one of the other warehouse layout options will serve you better.
Tips for I-Shaped Layout Efficiency
Zone by velocity from day one. The I-shape already gives you a natural pick path: make full use of it.
The L-Shaped Pallet Racking Warehouse Layout
How L-Shaped (Separated Dock Operations) Works in Practice
L-shaped (separated dock operations) layouts position receiving and dispatch on different sides of the building, typically at a right angle to each other. Racking fills the internal space and goods move on an angled path rather than a straight line or a loop.
The key advantage is clear. Inbound and outbound operations occupy different sides of the building, so they can run simultaneously without getting in each other's way. For operations where dock congestion has been a persistent problem, this warehouse layout pattern shows how spatial separation solves the issue without complex scheduling.
When to Use an L-Shaped Warehouse Layout
This configuration suits irregular building footprints: corner sites and extended units where a straight-line or looped plan simply won't fit. It's also a strong choice for operations where separating dock operations is a safety or throughput priority.
The trade-off is complexity. The angled flow path takes longer for new staff to internalise, so clear floor markings and directional signage are worth the effort.
Tips for L-Shaped Layout Efficiency
Mark your flow path on the floor before the racking goes in. When the layout is less intuitive, visual cues do a lot of the training work.
The Fishbone Warehouse Layout
How Fishbone Racking Works in Practice
The fishbone layout takes a different approach to all four configurations above. A central spine aisle runs the length of the warehouse, with diagonal pick aisles branching off on either side. From above, it looks exactly like what it's named after.
The logic is straightforward. Diagonal aisles reduce the average travel distance for order pickers. A picker can move between aisles via the central spine faster than walking to the end of a parallel row and doubling back. In a high-volume pick environment, that reduction compounds across every shift.
When Does a Fishbone Layout Make Sense?
This configuration works best in pick areas where pickers work on foot or with trolleys rather than in forklift-accessed racking. It pairs particularly well with longspan shelving or low-level racking in a piece-pick or case-pick environment.
The trade-off is that diagonal aisles are harder to fit within a standard racking grid and use floor space less uniformly than parallel rows. You'll also need a clear, wide central spine. This layout rewards careful planning at the design stage; retrofitting it is difficult.
Tips for Fishbone Layout Efficiency
Pair the fishbone configuration with velocity-based slotting. Put your fastest-moving SKUs in the diagonal aisles closest to dispatch and you'll compound the travel-time savings.
How Collaboration Can Make Your Warehouse Layout More Efficient
Working with Warehouse Managers and Installation Specialists
Reading about layout types is a useful starting point. Designing an optimised warehouse layout for your specific building, stock profile and equipment is the real challenge. That's where collaboration between warehouse managers and installation specialists pays for itself.
At RackZone, we offer warehouse layout and design services right across Ireland. We work with warehouse managers and business owners to assess their pallet racking layouts, understand how the operation actually runs and identify where the current setup is costing time or space.
Combining Practical Insight with Expert Design
From there, we produce a racking plan that works in practice, aligning your storage solutions with your business goals. That means getting beams and uprights sized correctly for your pallets, getting aisle widths right for your forklift equipment and keeping the layout flexible for the future as your operation grows.
We approach every project as a question of how to design an efficient warehouse racking layout that makes the best use of the available space without compromising safety or flow. Some configurations look good on paper and create real problems once the racking is in. We've seen it happen. Our job is to help you avoid those problems before the uprights go in.
If you're designing a new warehouse or looking to get more from the space you already have, give us a call on 090 9673261. We're 100% Irish owned, we hold stock here in Ireland and we deliver next business day on orders placed before 3pm. We know what a well-designed, efficient warehouse racking layout looks like and we're here to help you build one.