 Value Shelving
  Chrome Shelving
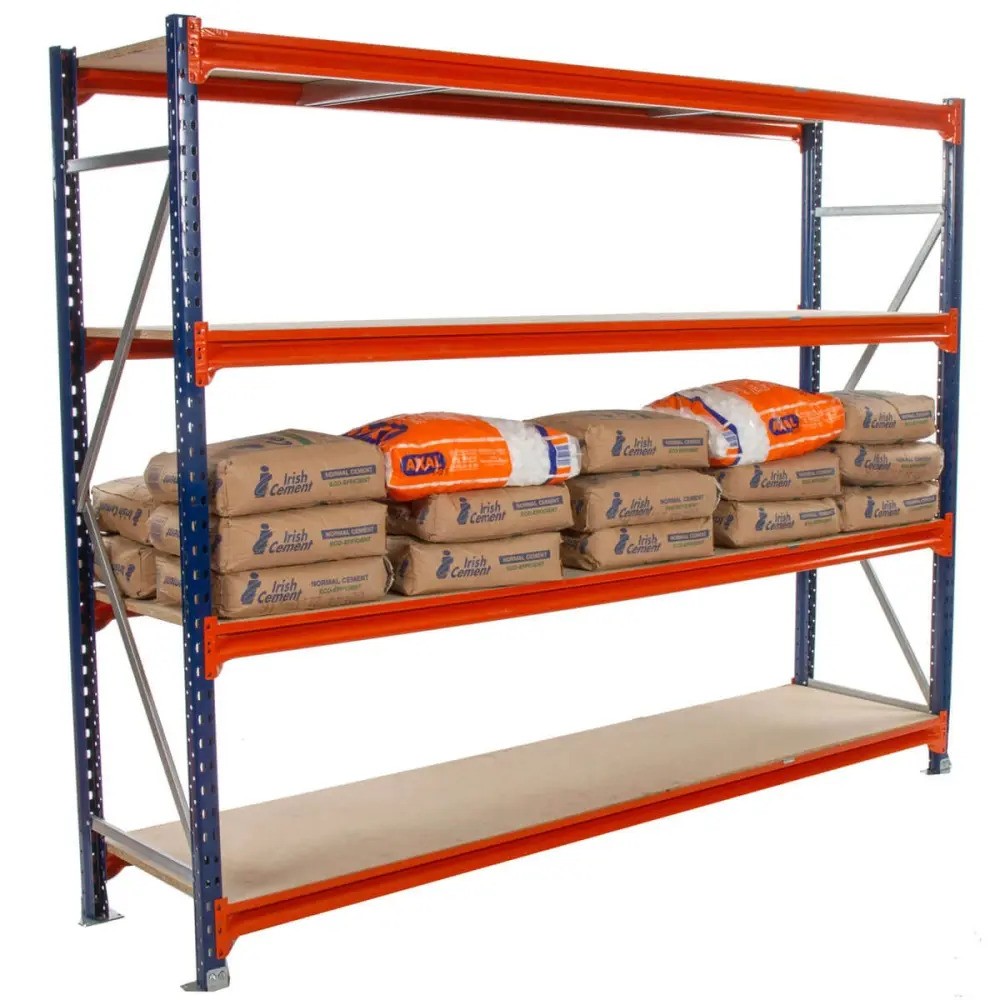 Warehouse Shelving
 Industrial Shelving
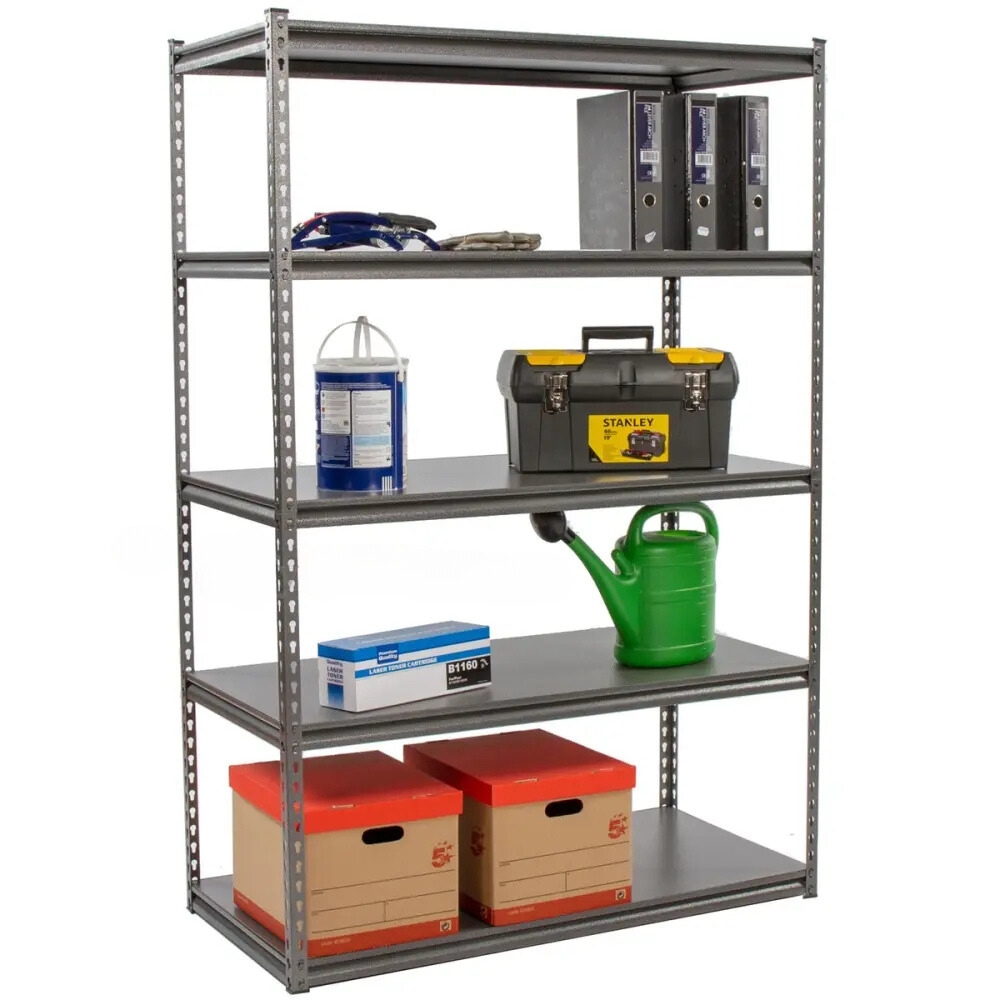 Garage Shelving
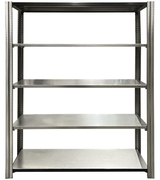 Metal Shelving
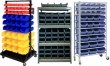
 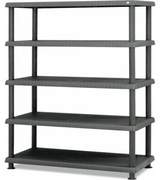 Plastic Shelving
 HORECA
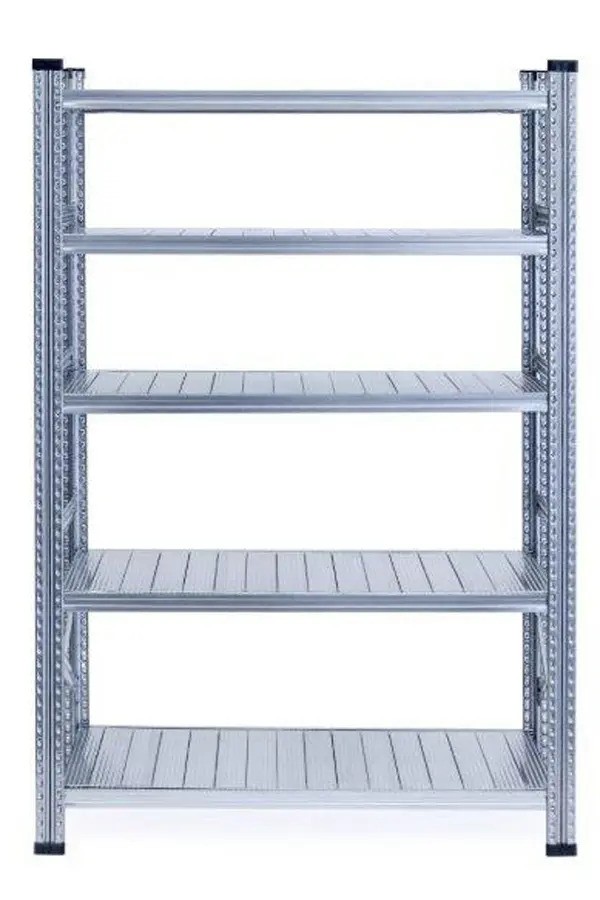 Galvanised Shelving
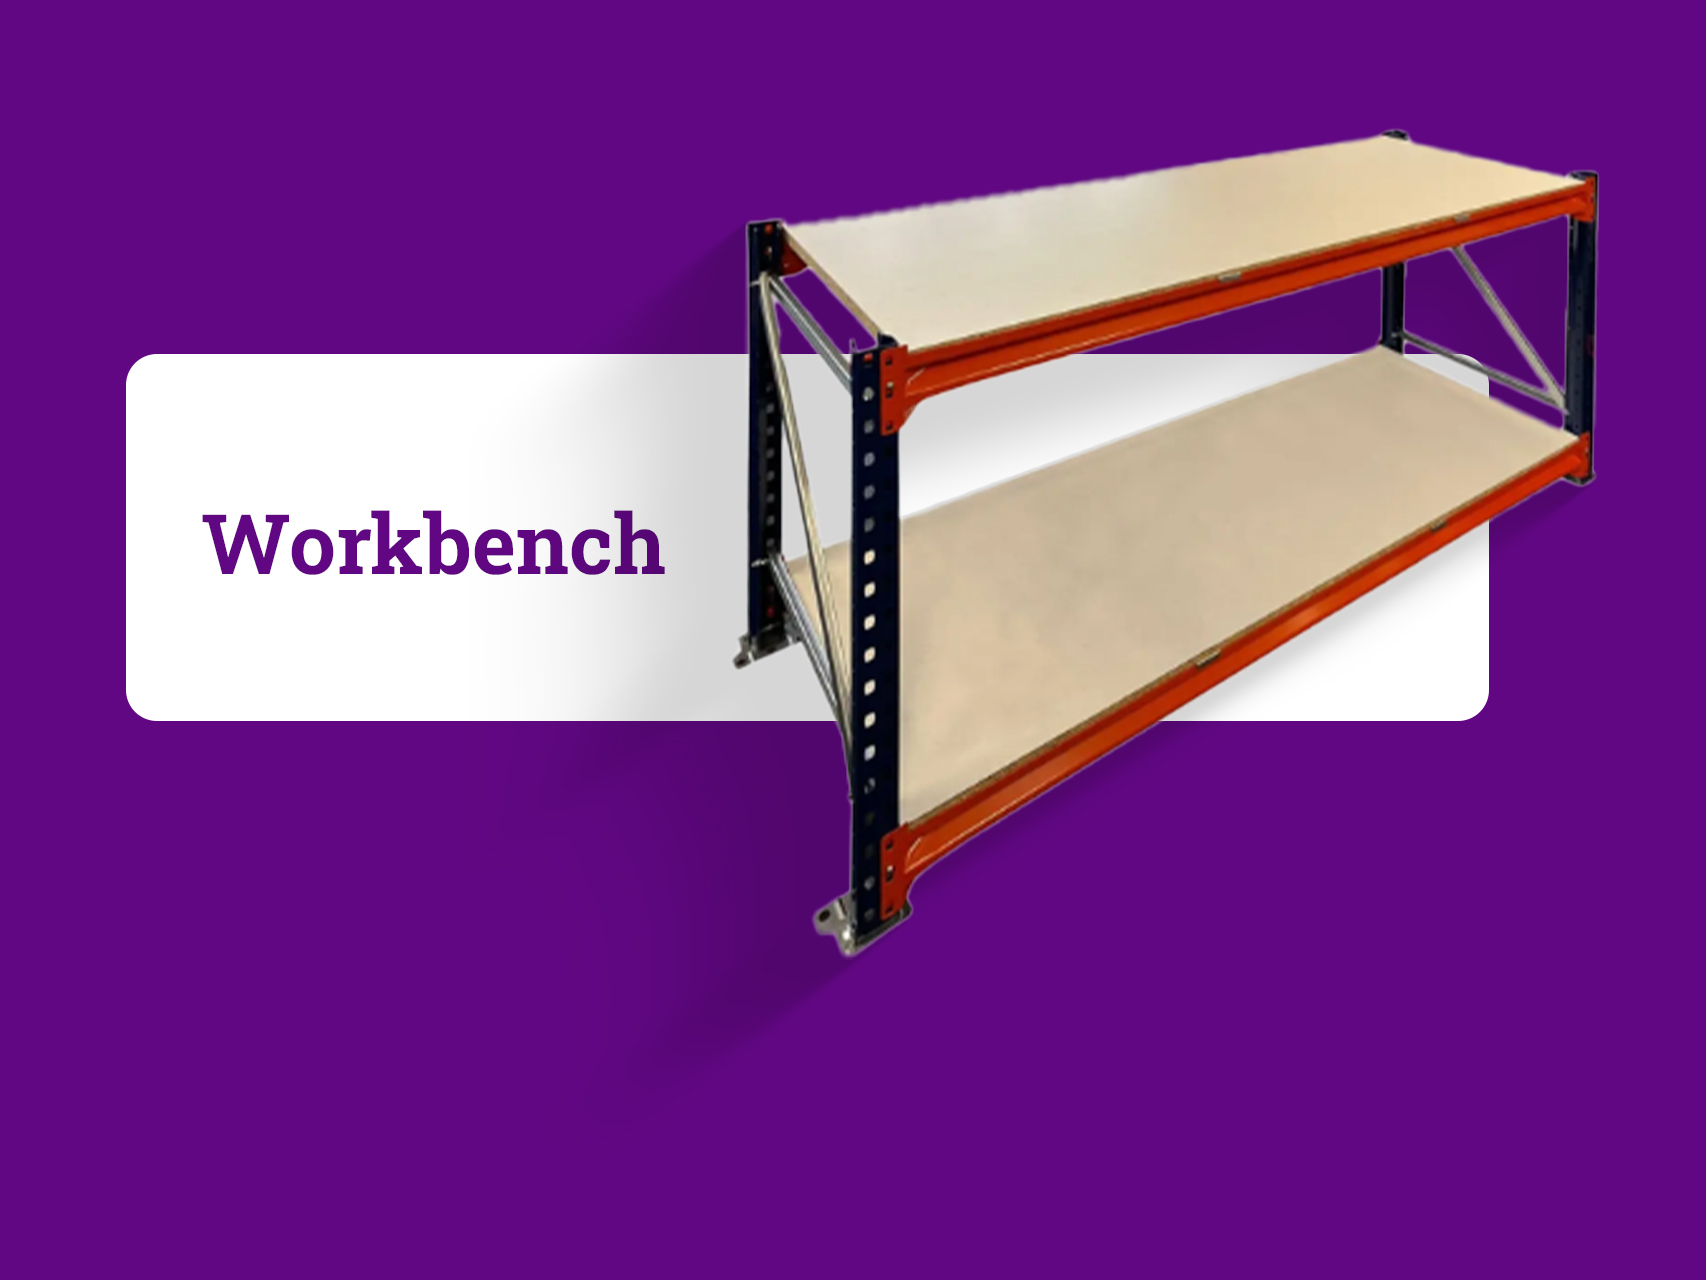
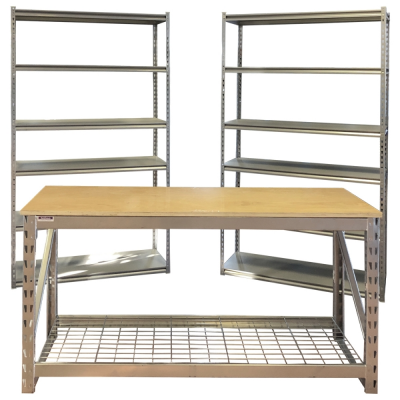
 Industrial Workbench
 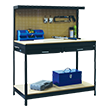 Value Workbench
 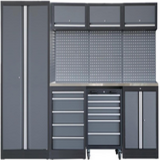 Modular Workstations
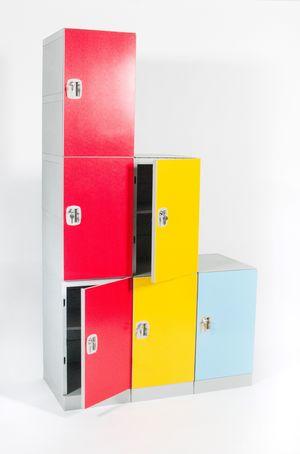
 Matting
  Metal Lockers & Benches
 Office
  Slatwall
  Cabinets
 Plastic Lockers
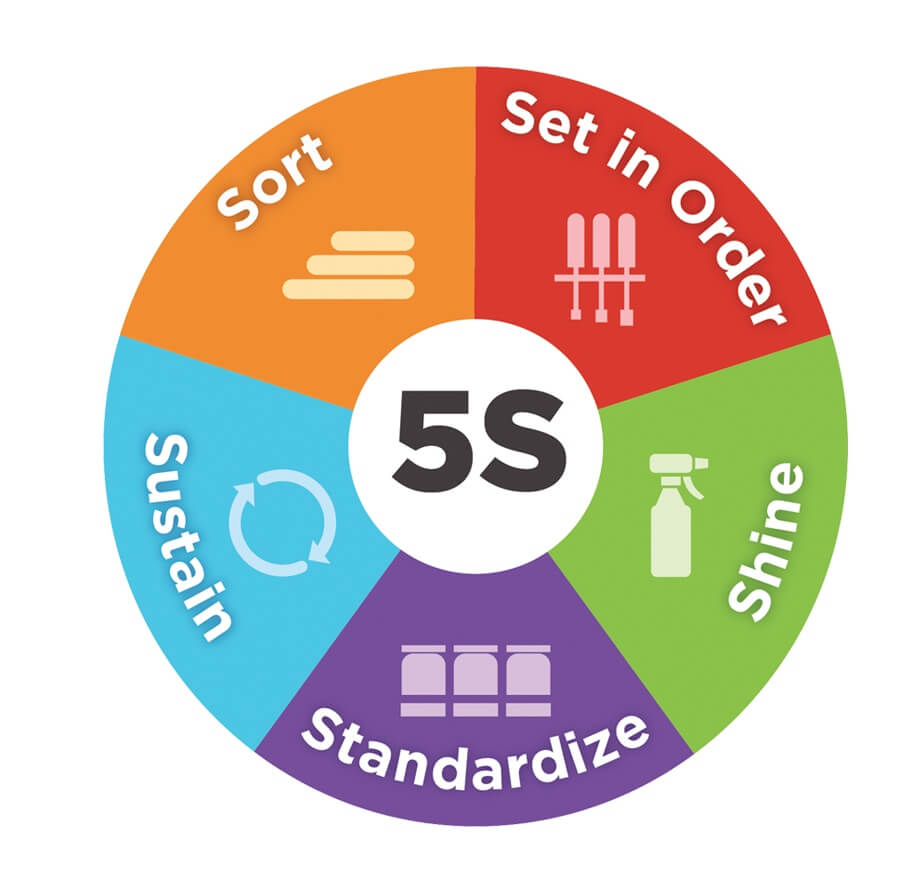 Lean Products
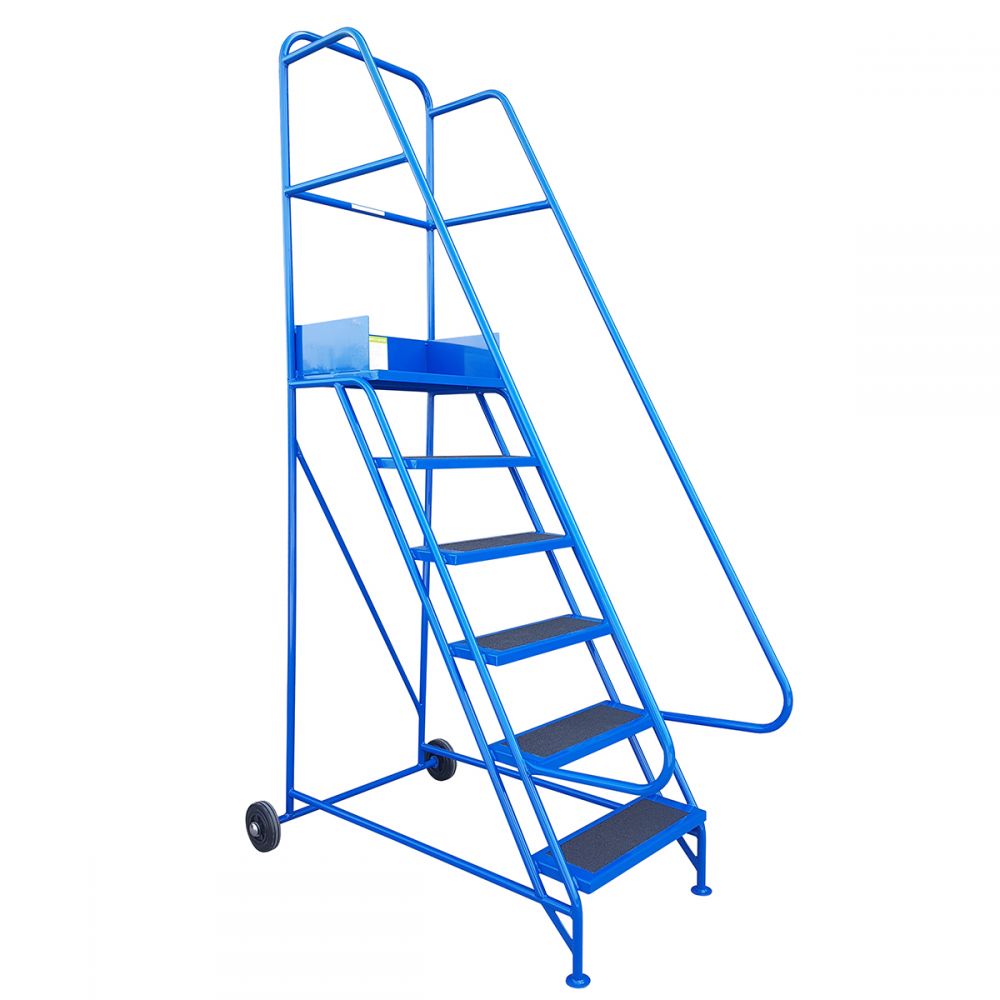 Mobile Steps
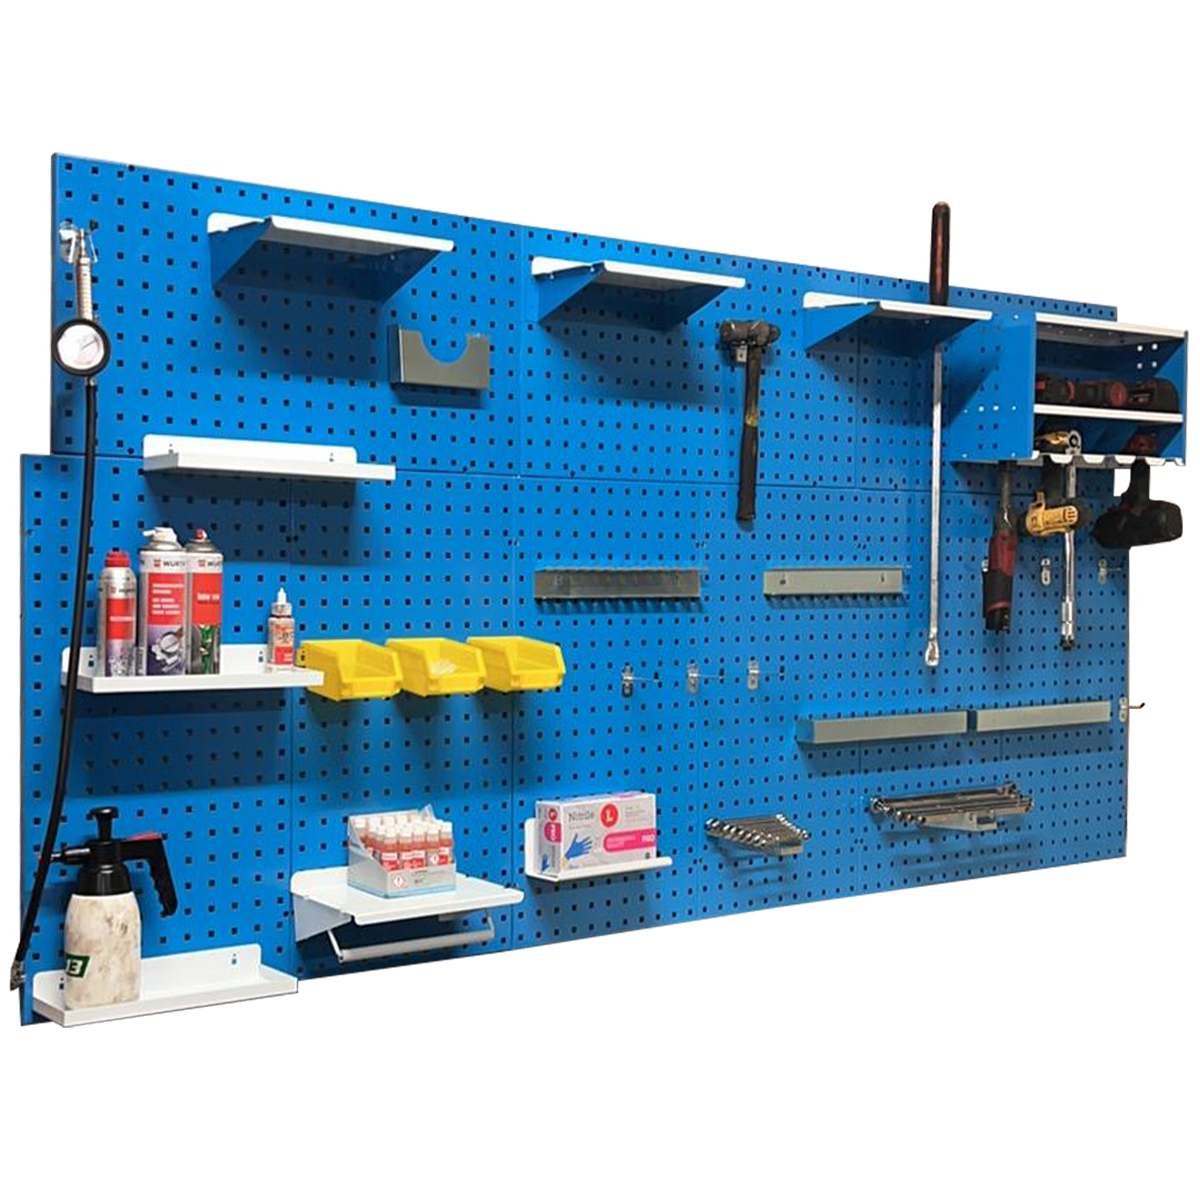 Wall-Zone
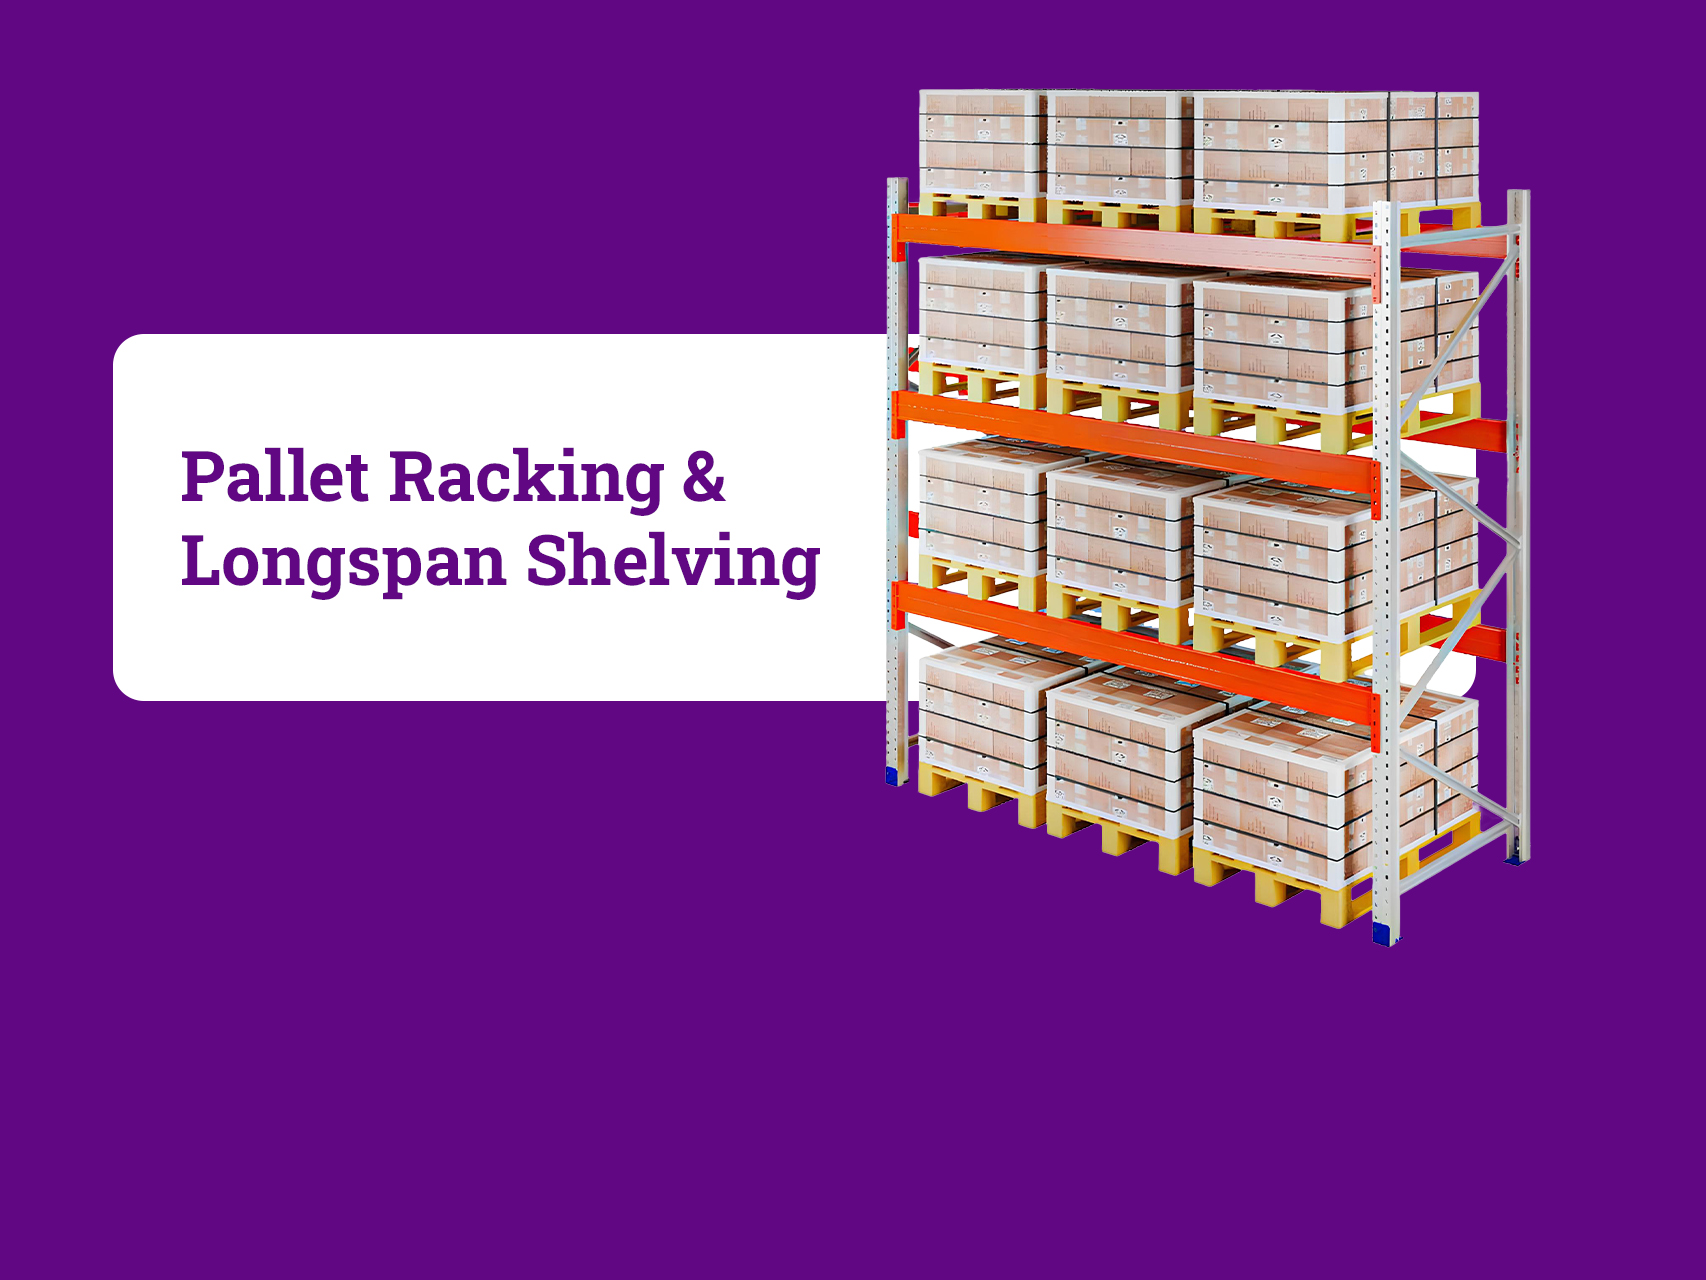
 Longspan Racking
  Cantilever Racking
 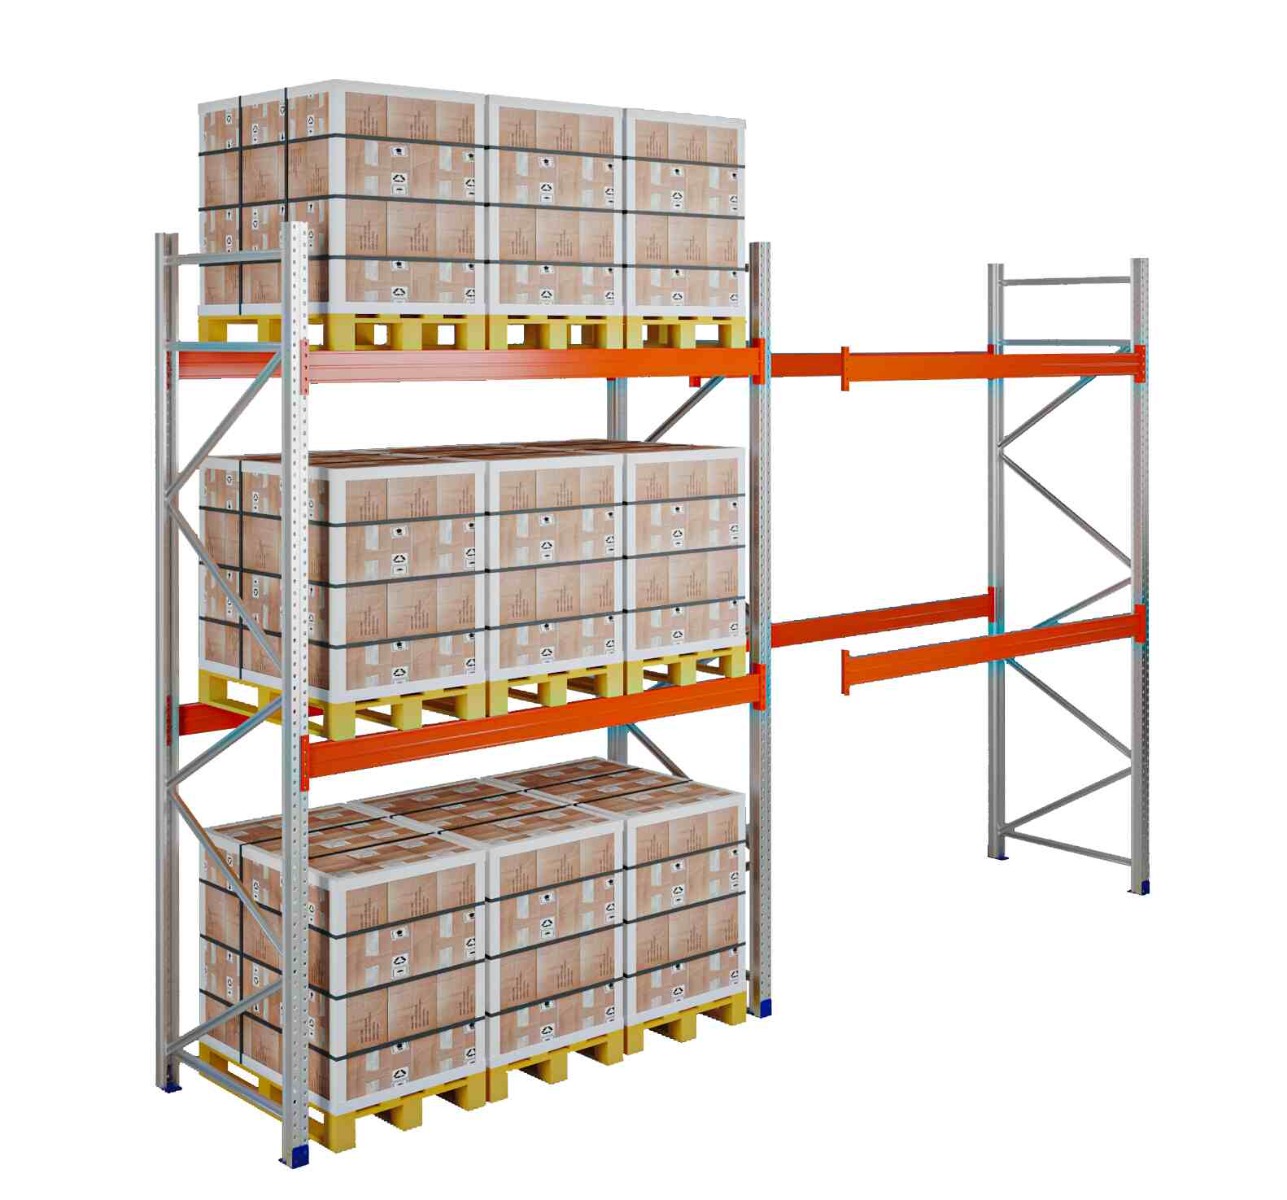 Industrial Pallet Racking
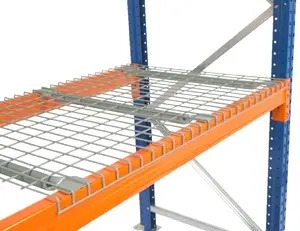 Wire Mesh Decking
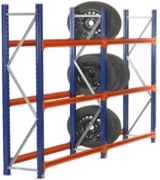 Tyre Racking
 Vertical Storage
 Racking Accessories
 Up & Over Gates
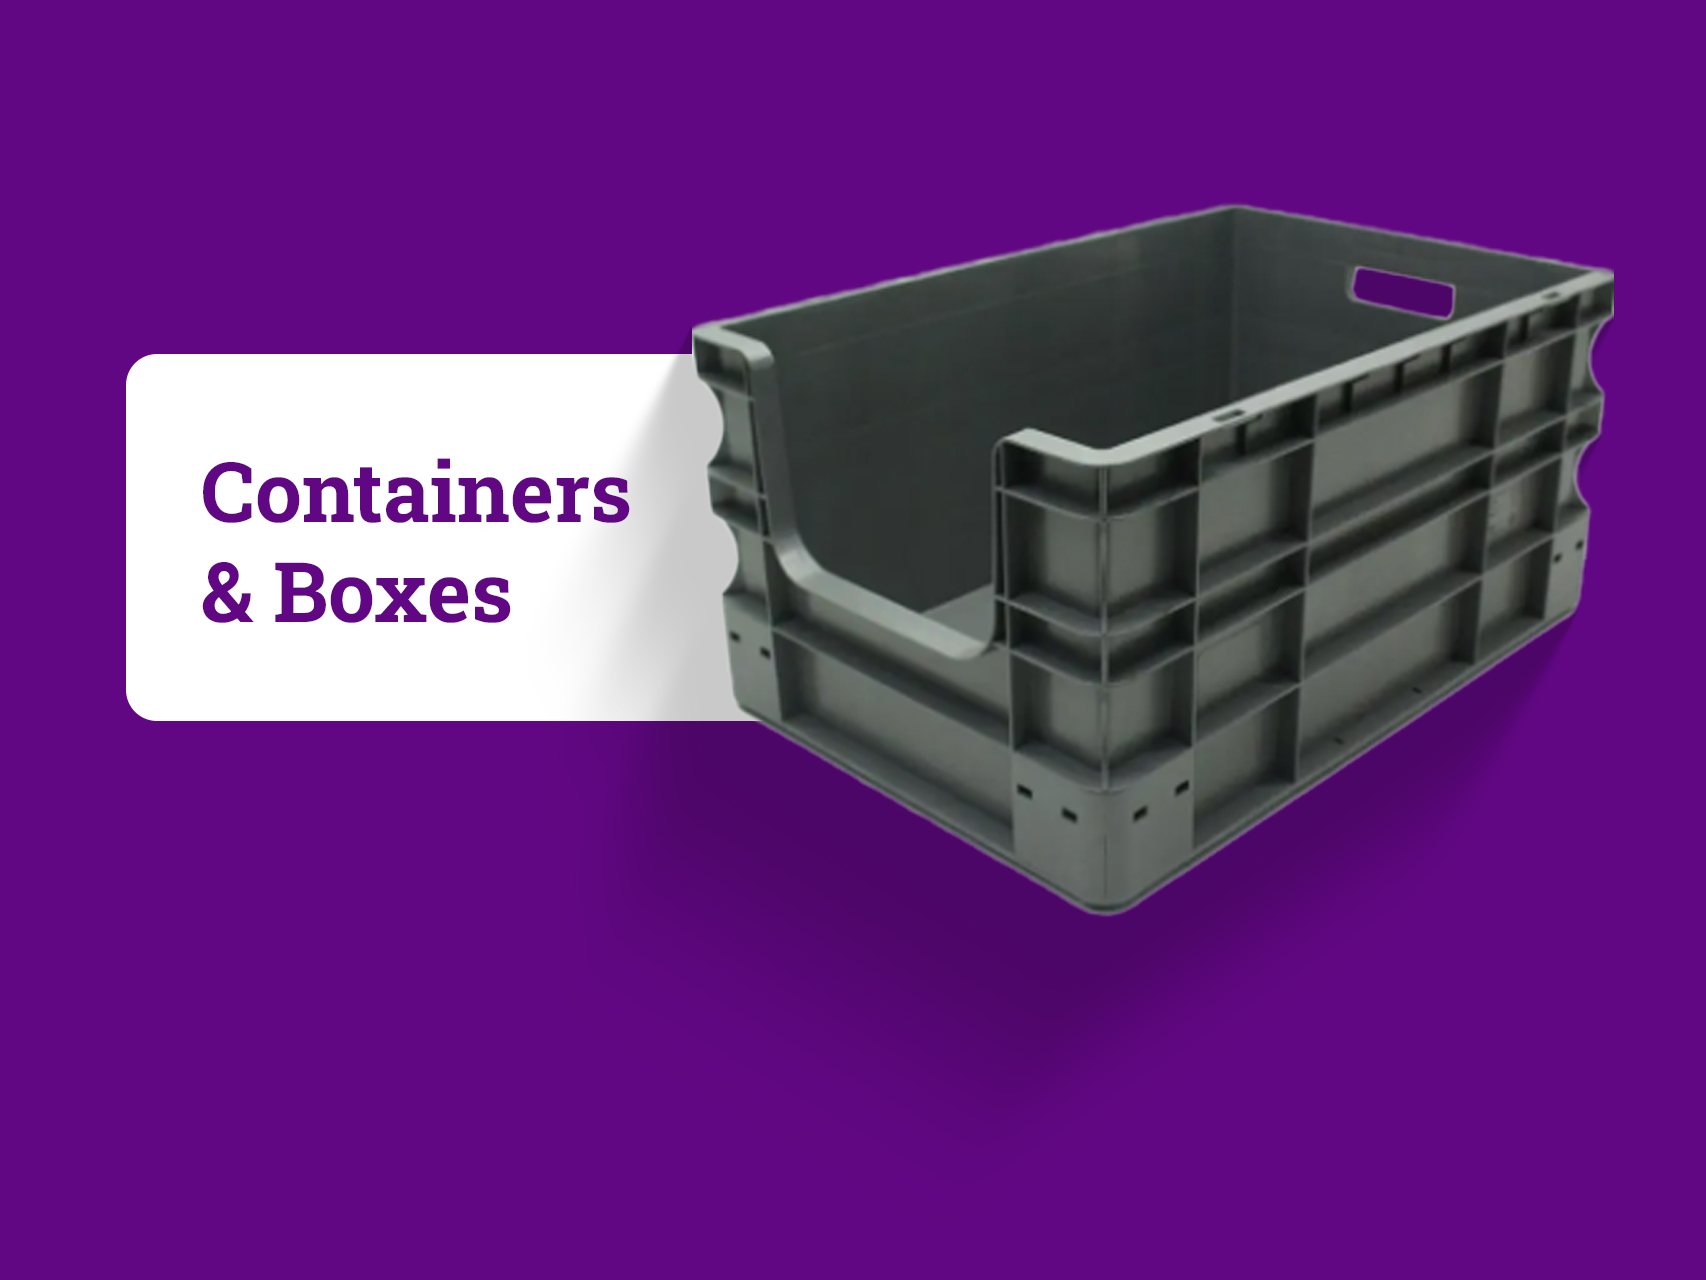
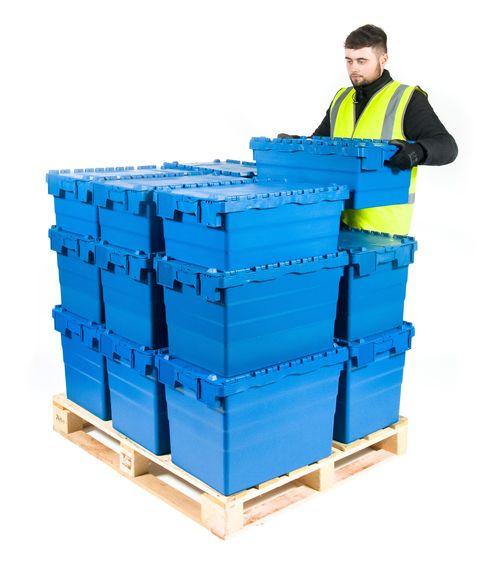
 Containers & Boxes
  Louvre Panels
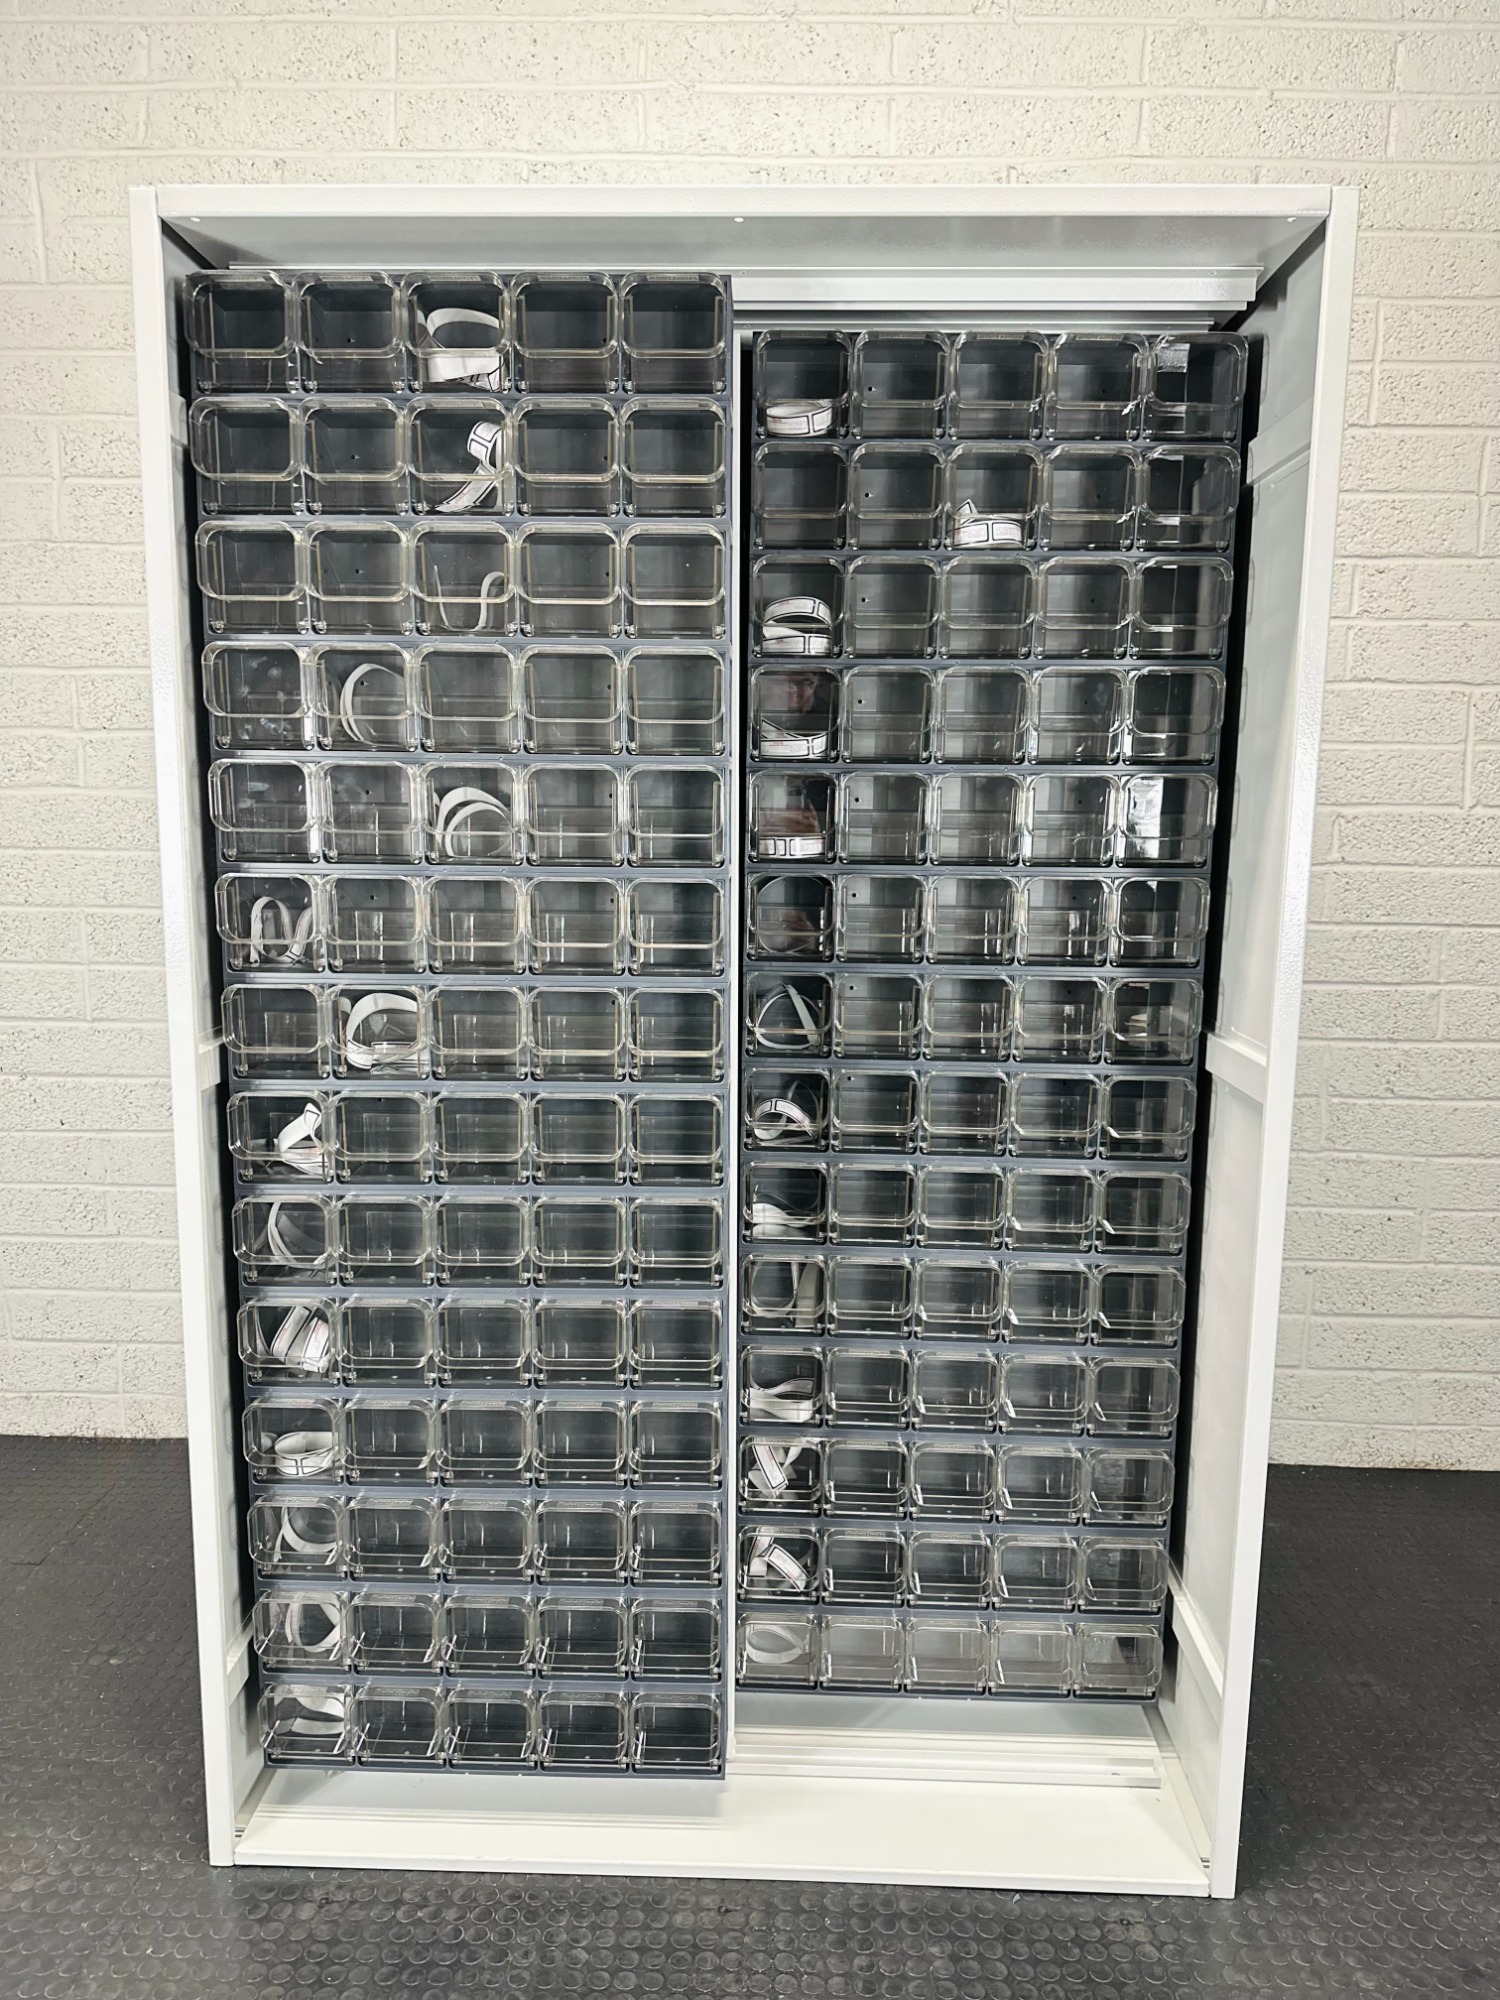 Crystal Box Systems
 Parts Bins
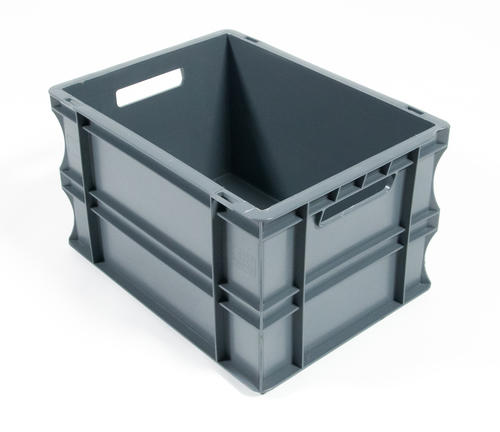
  Euro Containers
 Visible Storage Boxes
  Foldable Crates
 Shelf Bin
 Tool Organiser
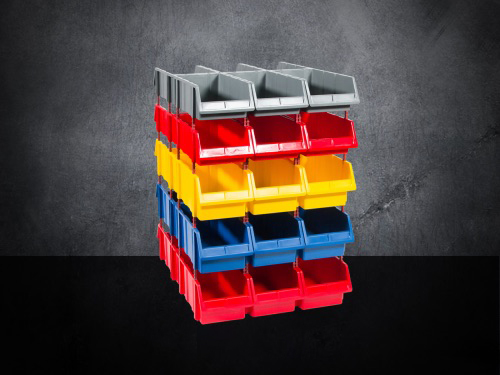

 Waste Management
 Cabinets
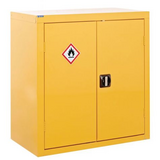 Chemical & CoSHH Cabinets
  Hex Lighting
 Packaging
 Platform Trolleys
  Hand Trucks
  Pallet Trucks
  Plastic Pallets

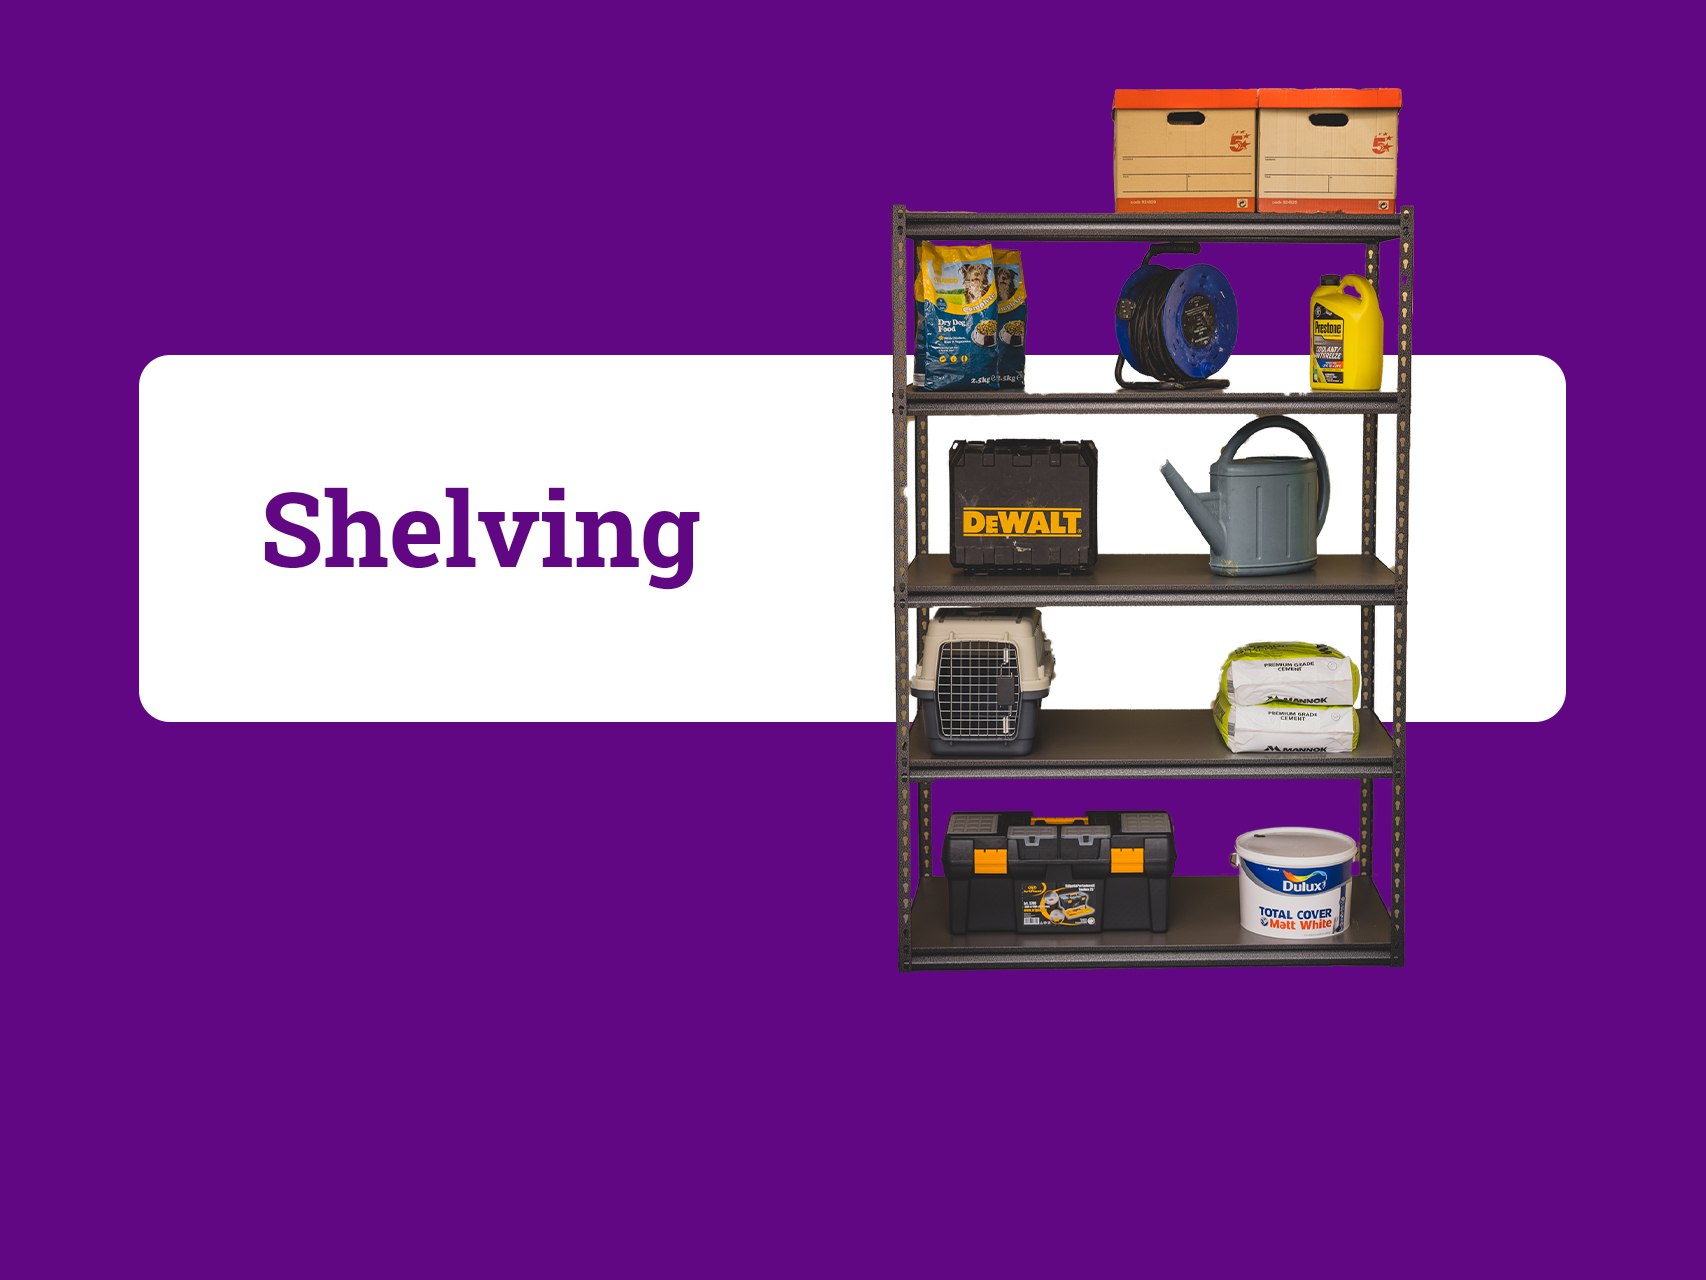
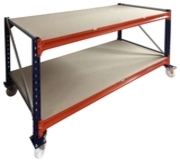
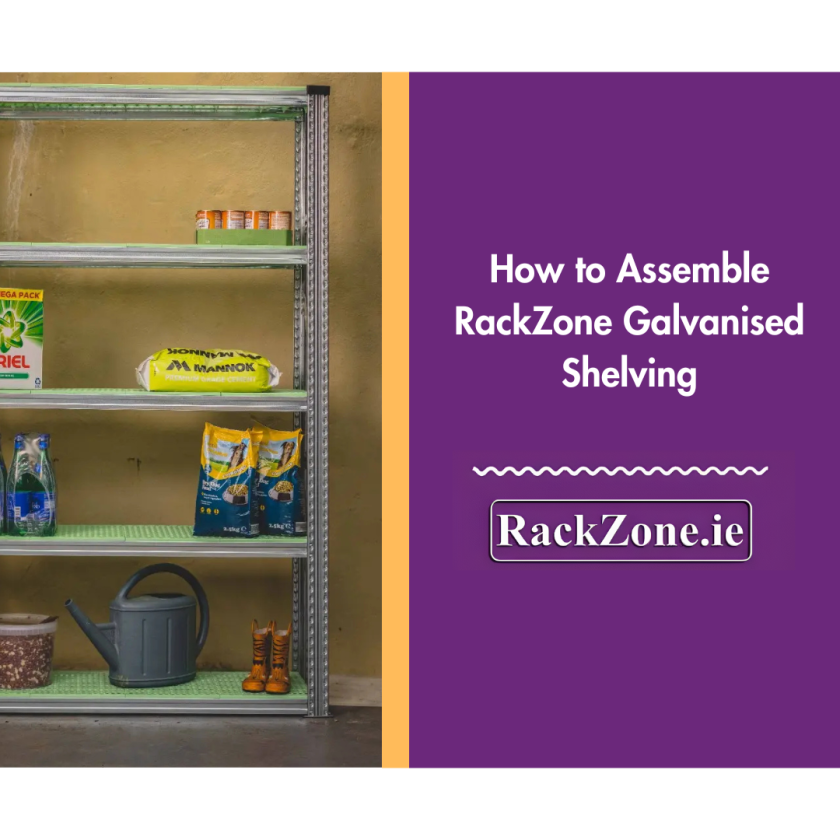
How to Assemble RackZone Galvanised Shelving
December 15, 2025
Posted:
December 15, 2025
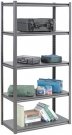
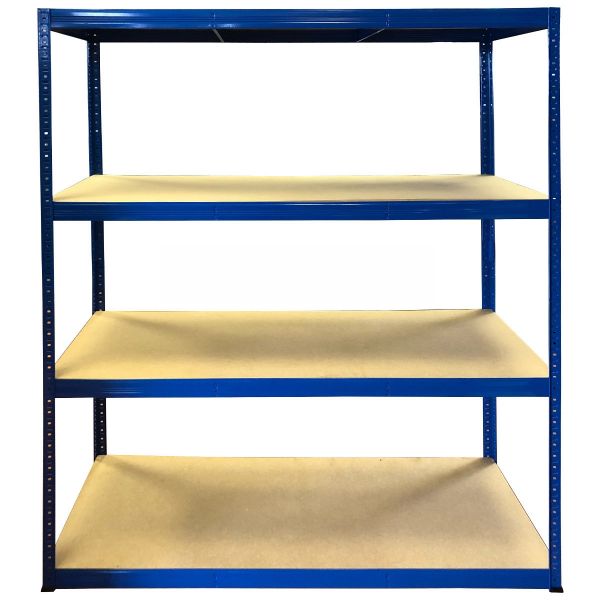
Learning how to assemble galvanised shelving is straightforward with RackZone's boltless tab-in system, which requires no tools and takes just minutes to complete. Our galvanised shelving units are designed for quick, hassle-free setup, making them ideal for garages, workshops, warehouses and anywhere you need durable, rust-resistant storage.
Whether you're a first-time buyer looking to put up galvanised shelving at home or a business owner fitting out a stockroom, this step-by-step guide and video tutorial will walk you through everything you need to assemble galvanised shelving safely and securely.
1. Unpack and Check
Unpack all components and lay them out.
- Before you start, check everything is present and not damaged.
- Upright frames
- Shelving panels
- Braces or clips, if included
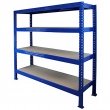
2. Build the Frame
- Stand two upright frames parallel at the distance you want.
- If cross braces or support bars are provided, fit these to stabilise the frame before adding shelves.
3. Fit the Shelves
- Start with the bottom shelf and work upward.
- Slide or drop each panel into place. Most galvanised units use a tab-in system with no nuts or bolts.
- Press each shelf firmly so it locks into the frame.
4. Adjust or Add Extras
- Some models have adjustable shelves at fixed height increments.
- If your unit comes with mesh or solid back panels, clip these into place now.
5. Make it Stable
- When all shelves are fitted, check the alignment.
- Give the unit a light shake to confirm it is solid.
- If brackets or wall fixings are provided, use them for extra safety.
6. Load the Shelves
- Follow the weight limits for your model. Most take between 150 kg and 300 kg per shelf.
- Put heavier items on the lower shelves to keep the unit steady.
Quick Reference Table
| Step | Action | Notes |
|---|---|---|
| 1 | Unpack and check components | Lay out parts and check all are present |
| 2 | Build the frame | Stand uprights and add braces if needed |
| 3 | Fit shelves from the bottom | Tab-in or boltless, press firmly |
| 4 | Adjust shelf height or add back | Clip in extra panels if supplied |
| 5 | Check stability | Align and anchor if required |
| 6 | Load carefully | Heaviest items on lower shelves |
Step
1
Action
Unpack and check components
Notes
Lay out parts and check all are present
Step
2
Action
Build the frame
Notes
Stand uprights and add braces if needed
Step
3
Action
Fit shelves from the bottom
Notes
Tab-in or boltless, press firmly
Step
4
Action
Adjust shelf height or add back
Notes
Clip in extra panels if supplied
Step
5
Action
Check stability
Notes
Align and anchor if required
Step
6
Action
Load carefully
Notes
Heaviest items on lower shelves
Tips
- Assemble on a flat level surface
- Ask someone to help with large frames
- Follow the weight rating for your model
- Anchor to a wall if the shelving is tall or in a busy area.
Recent Posts